


SiFive Blog
The latest insights, and deeper technology dives, from RISC-V leaders

Getting Started with Zephyr RTOS v1.13.0 On RISC-V
Hi everyone! I'm Nathaniel Graff, a software engineer here at SiFive, and I'm excited to tell you about the most recent release of Zephyr RTOS, version 1.13.0! Zephyr RTOS is a real-time operating system hosted by The Linux Foundation, featuring support for a myriad of different platforms, architectures, and targets including SiFive's E-series CoreIP, and the HiFive 1 development board.
I'm particularly excited about this release because it incorporates recent work making the RISC-V port of Zephyr compatible with DeviceTree descriptions of SiFive platforms. DeviceTree is the standard markup language used by the Linux Kernel to describe the hardware configuration of a target device. In Zephyr, we use it to automatically configure the Zephyr kernel and device drivers to build and run on your microcontroller of choice. The end result is that it's never been easier to get a full-featured RTOS up and running on your own custom SiFive core and spend more of your own time building your end-user application!
Why Zephyr RTOS?
Zephyr RTOS has a number of great features that make it a good choice for developing embedded applications on RISC-V. First and foremost, it has a welcoming and active development community coordinated by the Linux Foundation, and enjoys major corporate backing from Intel, NXP, Nordic, Linaro, and more. The operating system itself also has a number of powerful features, including a device model, symmetric multiprocess support, and rich networking and bluetooth stacks. This is all in addition to the standard constructs you expect to see from a Real-Time Operating System like deterministic multithreading and inter-thread communication.
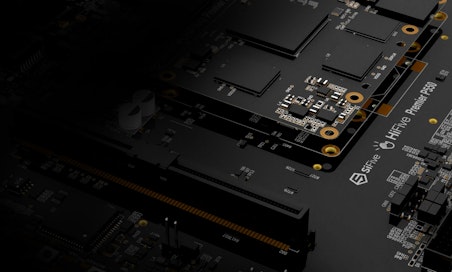
Zephyr supports RV32IMAC cores like the SiFive E31, as well as a number of peripherals built in to the FE310-G000 processor on the SiFive HiFive 1, including the UART, GPIO, and the Platform-Level Interrupt Controller.
Getting Started with Zephyr
Installing the Zephyr SDK
The best way to get started with Zephyr is to use the Zephyr SDK, which
packages the toolchains needed for all of the build targets Zephyr supports,
including RISC-V boards. For Zephyr v1.13.0, install SDK version 0.9.3, not a
newer release like 0.9.4 or 0.9.5, to make sure that the qemu_riscv32 target
is compatible with the version of QEMU in the SDK.
To install the Zephyr SDK, follow the instructions in Zephyr's Documentation for your platform of choice (Linux, macOS, Windows)
Getting the Zephyr Sources
Zephyr RTOS is developed on GitHub. You can get the sources easily by cloning the official repo:
$ git clone https://github.com/zephyrproject-rtos/zephyr.git$ cd zephyr$ git checkout v1.13.0
Building the Hello World Application
Zephyr comes with a number of sample applications which demonstrate different features of Zephyr. The Hello World application is a good place to start to make sure you can build Zephyr applications and run them in your target environment.
Start in the Zephyr Sources you checked out earlier in this tutorial.
$ source zephyr-env.sh$ cd samples/hello_world$ mkdir build && cd build$ cmake -DBOARD=qemu_riscv32 ..$ make -j$(nproc)
If your build environment is configured properly, the resulting application
should be located in zephyr/zephyr.elf.
Running Zephyr in QEMU
To run the application we just built in the QEMU emulator, all we have to do is
call $ make run. The Zephyr SDK comes with QEMU for all of its supported targets.
Running Zephyr on the SiFive HiFive 1
To run the Hello World application on the SiFive HiFive 1, we'll need to rebuild the application to target the HiFive 1 board.
Rebuilding an Application for a New Target
If you built samples/hello_world for qemu_riscv32, we'll need to clean the
build directory to make sure that Zephyr is properly configured for a new target.
Run the following command to clean your build directory
$ make pristine
You can then retarget and build the application for HiFive1:
$ cmake -DBOARD=hifive1 ..$ make -j$(nproc)
If you skipped building for QEMU
If you didn't build your application for QEMU simulation, we'll still need to create a build directory and source the proper environment variables. You can build for HiFive1 by running these commands:
$ source zephyr-env.sh$ cd samples/hello_world$ mkdir build && cd build$ cmake -DBOARD=hifive1 ..$ make -j$(nproc)
Programming the HiFive 1 Board
We'll need some more tools to connect to the HiFive 1 board and flash the Hello World application, namely GDB and OpenOCD. You can download those tools from our website for your desired platform.
Once you've installed the GNU embedded toolchain and OpenOCD, grab a copy of the OpenOCD configuration file for the HiFive1.
Plug in the HiFive 1. Then open a terminal and run the following command:
$ openocd -f openocd.cfg
In a second terminal, navigate to samples/hello_world/build/zephyr/
Then run this command to load the program onto the HiFive 1:
$ riscv64-unknown-elf-gdb zephyr.elf --batch -ex 'set remotetimeout 240' -ex 'target extended-remote localhost:3333' -ex 'monitor reset halt' -ex 'monitor flash protect 0 64 last off' -ex 'load' -ex 'monitor resume' -ex 'monitor shutdown' -ex 'quit'
Using your favorite serial terminal monitor (GNU Screen, PuTTY, etc.) connect to the virtual serial port presented by the HiFive 1 at 115200 baud. You should see a zephyr boot message and the phrase "Hello, world!"
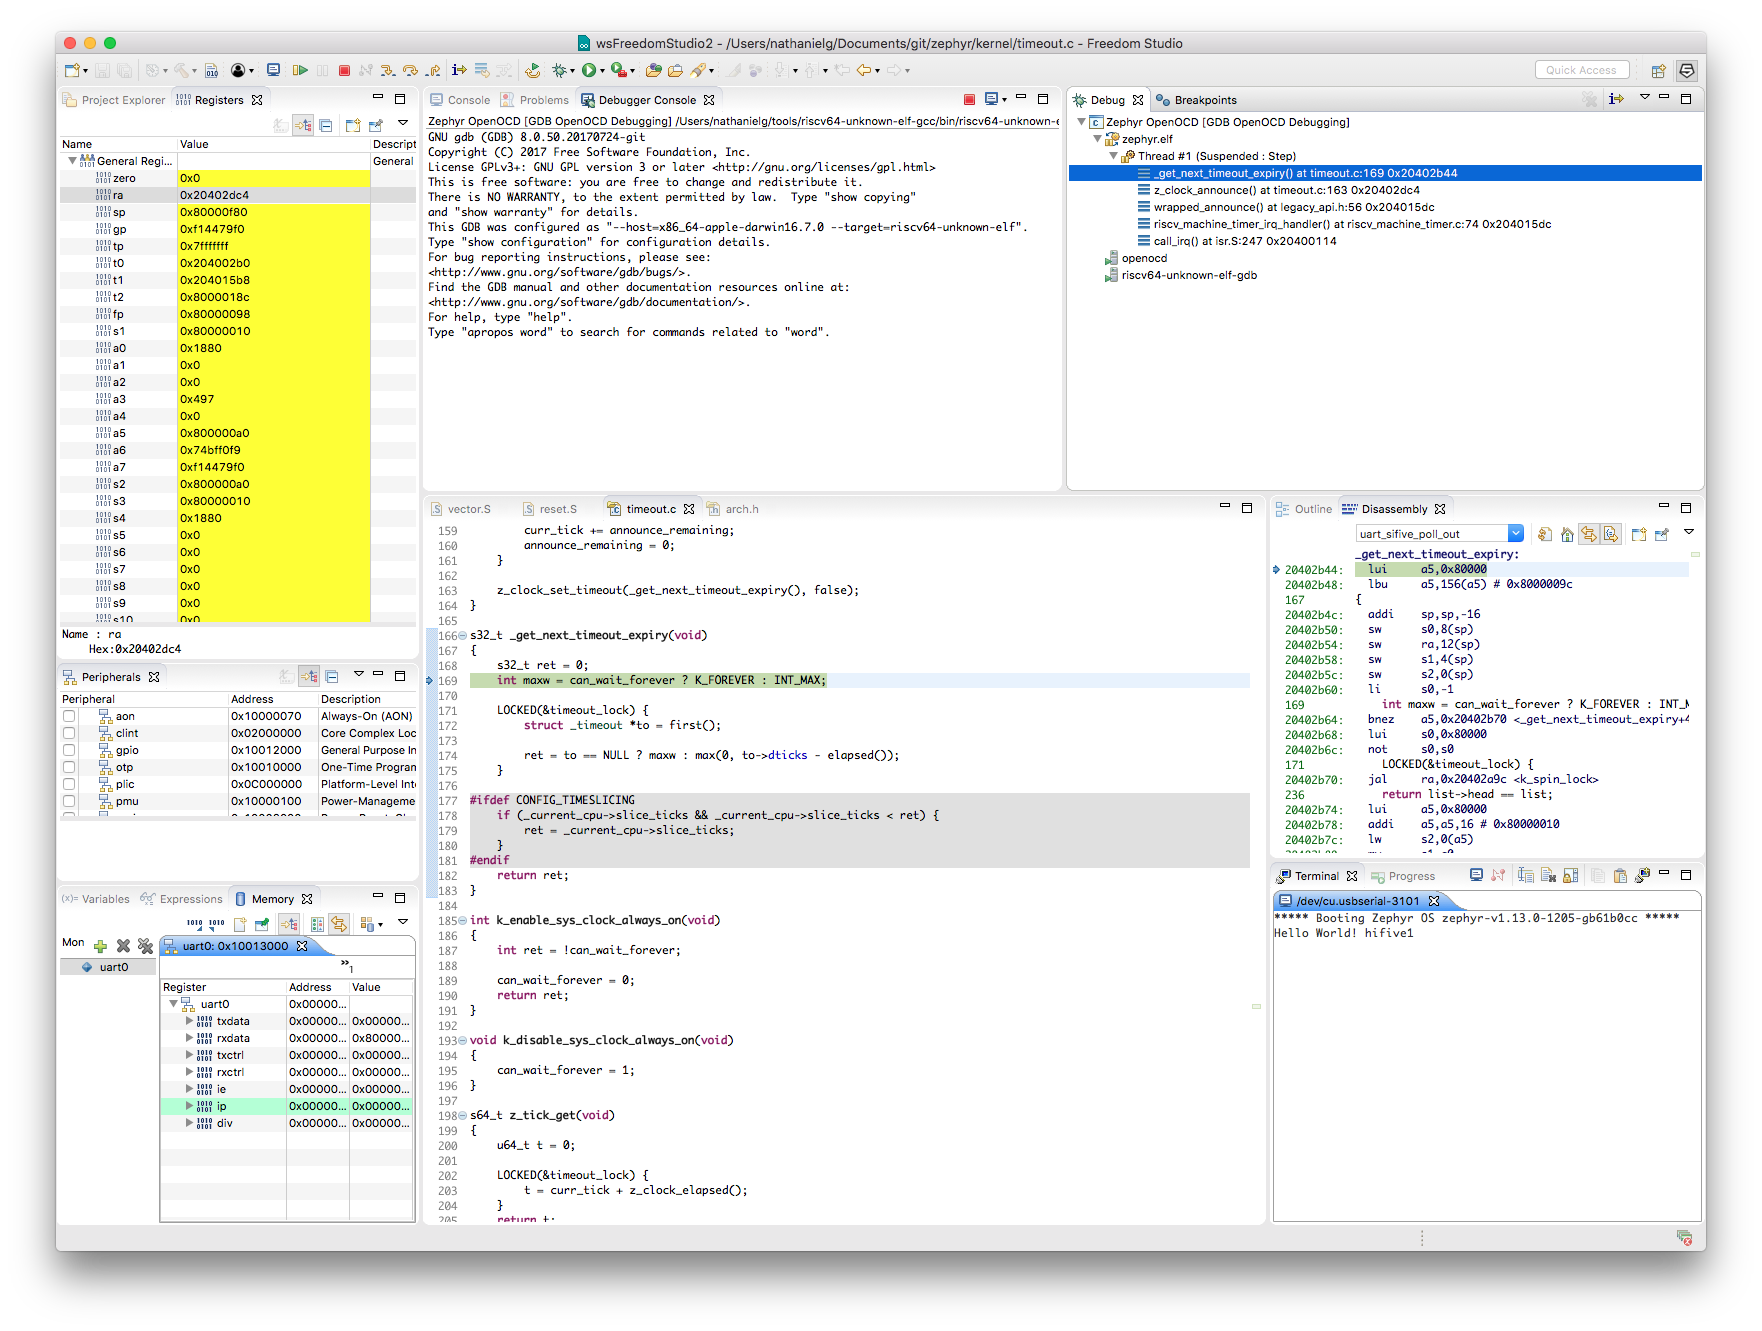
Debugging Zephyr on the HiFive 1 from Freedom Studio
Zephyr also supports debug flows within your favorite Eclipse-based Integrated Development Environments, like SiFive Freedom Studio!
Detailed instructions for setting up your Eclipse environment for Zephyr can be found in Zephyr's Documentation.
Building Your Own Zephyr Application
Now that we've built and run a Zephyr application, it's time to get started building your own! Zephyr has thorough documentation on the process to set up and start developing your own application here.
Porting Zephyr to Your SiFive SoC
As I mentioned before, Zephyr v1.13.0 features DeviceTree support for SiFive's products. For example, using our Core Designer, you can configure your core to have your desired quantity of GPIO channels. Zephyr's SiFive GPIO driver automatically scales to the number of GPIO channels specified by the DeviceTree model of your chip. The result is that porting Zephyr to a new SiFive SoC is as simple as dropping in the DeviceTree for your chip and setting Zephyr's configuration options to your choosing.
To make the process of creating a port for a new SiFive chip even easier, I've created a template project called zephyr-sifive-freedom-template. Using the template, all you have to do is provide your DeviceTree, run the customization script, and answer a few questions.


Read more Insights from the RISC-V Experts

RISC-V EU Summit 2026: An Ecosystem Coming of Age

P570 Gen 3: A System Perspective
